|
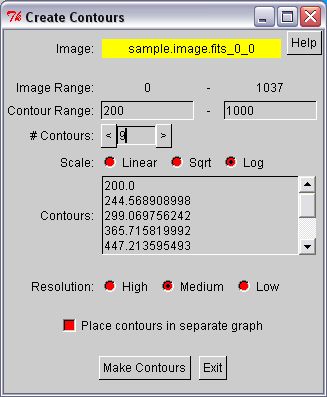
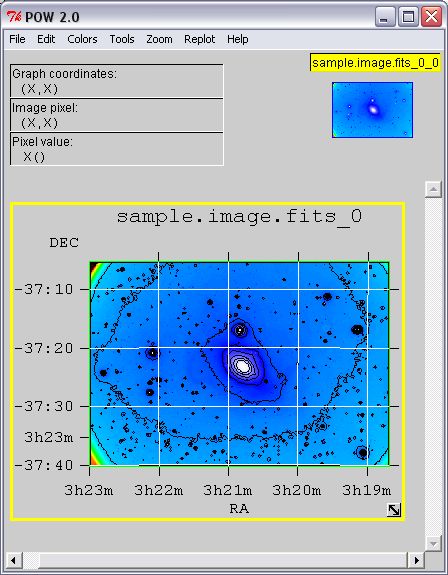
Next: Blinking Up: No Title Previous: Image Display Contour MapsThe contour plotting control panel (Figure 7) appears after clicking on the `Make Contour Map' option under the Tools menu. First set the desired range to be covered by the contours, the number of contours, and the log or linear contour spacing, then click on `Make contours' to draw the map. Adjust the range or the number of contours until you get the desired plot. By default the contours are drawn on top of the current image, but a check box is available on the control panel to force the contours to be drawn on a new graph. Note that you can zoom in on the image (as described above) to view the contours in more detail.
Next: Blinking Up: No Title Previous: Image Display Project Scientist: William Pence Project Engineer : Pan Chai July 2008 |


